Understanding the Basics of Interior Painting
What is Interior Painting?
Interior painting involves applying paint to the walls, ceilings, and other surfaces inside a building. This essential home improvement task serves both functional and aesthetic purposes. With a wide variety of colors, finishes, and materials available, interior painting can dramatically transform the atmosphere of a home. Thorough knowledge about interior painting processes is vital for homeowners aiming to improve their living space.
Difference Between Interior and Exterior Painting
While both interior and exterior painting share the basic idea of applying a color finish to a surface, they cater to different needs and environments. Interior paints are formulated to be low in odors and often contain fewer volatile organic compounds (VOCs), making them suitable for indoor air quality. Moreover, they are designed to withstand the unique conditions inside a home, such as varying humidity levels and carpet stains. In contrast, exterior paints must endure weather extremes, UV rays, and moisture. As a result, they often have higher durability, weather resistance, and flexibility to prevent cracking and peeling.
Common Materials Used in Interior Painting
Interior painting demands particular materials tailored to enhance performance and aesthetics. The most common materials include:
- Paints: Available in various types like latex, alkyd, and enamel. Latex paints are popular for their easy clean-up and low odor.
- Primers: Essential for sealing the surface and ensuring that the paint adheres well, especially when transitioning from a darker to a lighter color.
- Brushes and Rollers: These application tools are crucial for achieving a smooth finish, with each type serving specific purposes, i.e., brushes for corners and edges and rollers for large wall areas.
- Drop Cloths: Protects floors and furniture from paint splatters and spills.
Planning Your Interior Painting Project
Choosing the Right Colors for Your Space
The color palette you choose significantly impacts the overall mood and ambiance of your home. When selecting colors, consider the function of each room, lighting conditions, and current decor. Warm colors like reds and yellows promote a cozy and inviting atmosphere, whereas cool colors like blues and greens often create a calm and tranquil environment. Tools such as color wheels and virtual room design applications can help visualize different shades and how they interact with natural and artificial light.
Assessing Wall Conditions Before Painting
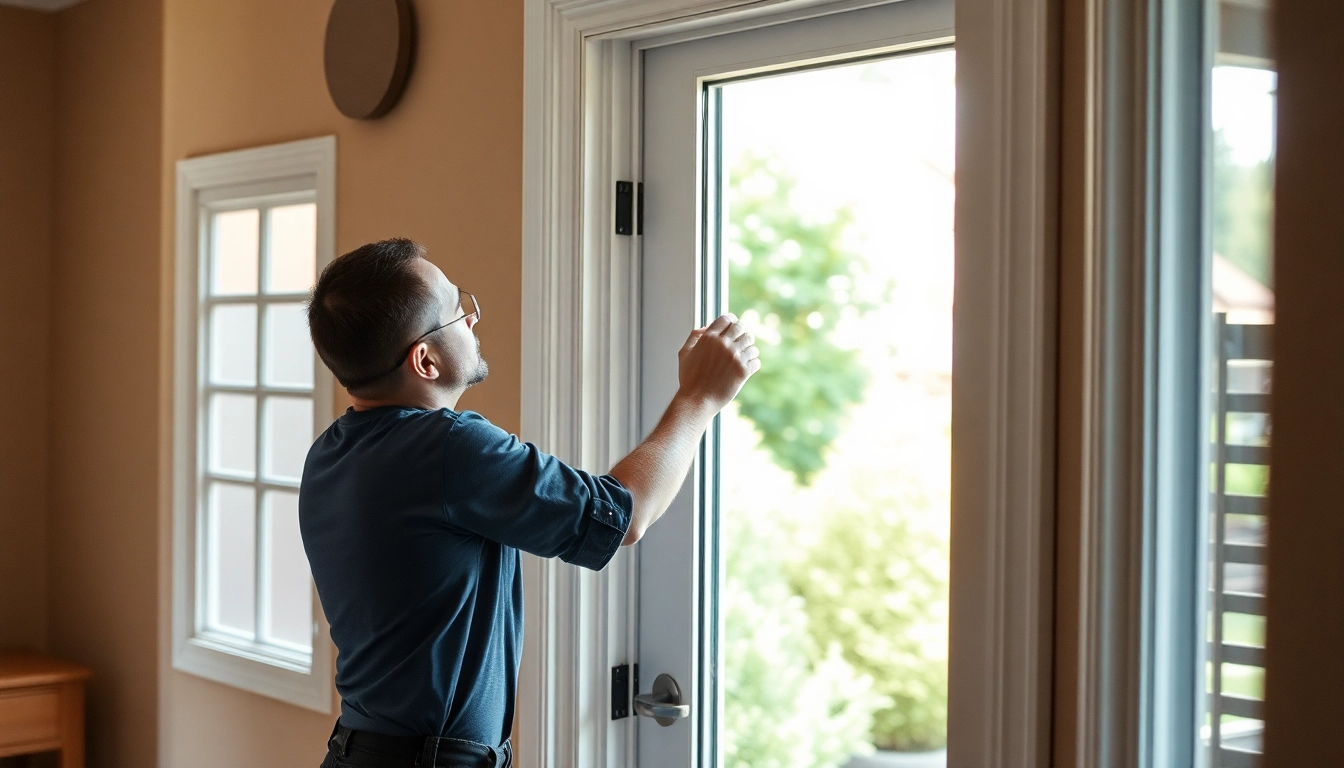
Before embarking on an interior painting project, assessing the condition of your walls is crucial. Look for cracks, dents, mildew, and peeling paint. These issues may require repair or surface preparation such as sanding and cleaning to ensure a smooth application. Using a moisture meter can also help identify problematic areas, particularly in kitchens and bathrooms where humidity may be higher.
Calculating Costs and Budgeting for Your Project
The cost of interior painting can vary widely based on several factors, including:
- Room Size: Larger rooms will naturally require more paint and labor.
- Paint Quality: Premium paints tend to be more expensive but often provide better coverage and durability.
- Labor Costs: Hiring professionals provides expertise but adds to the overall cost.
As a benchmark, interior painting can range anywhere from $1,800 to $10,000, considering labor and materials. Creating a meticulous budget will help manage expenses and allow for contingencies in case of unexpected repairs or enhancements.
Preparation for Interior Painting
Essential Tools and Supplies You Need
Having the right tools and supplies on hand will ensure a smooth and efficient painting process. Essential tools include:
- Paint Brushes and Rollers: A variety of sizes for different surfaces.
- Paint Trays: To hold and distribute paint evenly.
- Painter’s Tape: Used to create clean edges and protect areas not to be painted.
- Sandpaper: For smoothing surfaces prior to painting.
- Stir Sticks: To mix and ensure optimal paint consistency.
- Protective Gear: Masks, goggles, and gloves to safeguard against dust and paint fumes.
Surface Preparation Techniques for Long-lasting Results
Surface preparation is a vital component of a successful interior painting project. Start by cleaning the walls thoroughly to remove dust, grease, and dirt. Spackling compound can be used to fill in any holes or cracks, followed by sanding the surface smooth. Plus, applying a primer can help to create a uniform base, enhance paint adhesion, and improve the overall finish.
Safety Measures and Clean-Up Tips
Safety should be a paramount consideration during any interior painting project. Always ensure adequate ventilation in the working area, particularly if using paints with solvents or strong odors. Wear a mask to protect against dust and fumes, and be cautious with ladders while working at heights. Additionally, once the painting is complete, clean your tools efficiently to extend their life and prevent paint contamination. Dispose of unused paint according to local regulations, and store remaining paint securely for future touch-ups or projects.
Executing the Perfect Paint Job
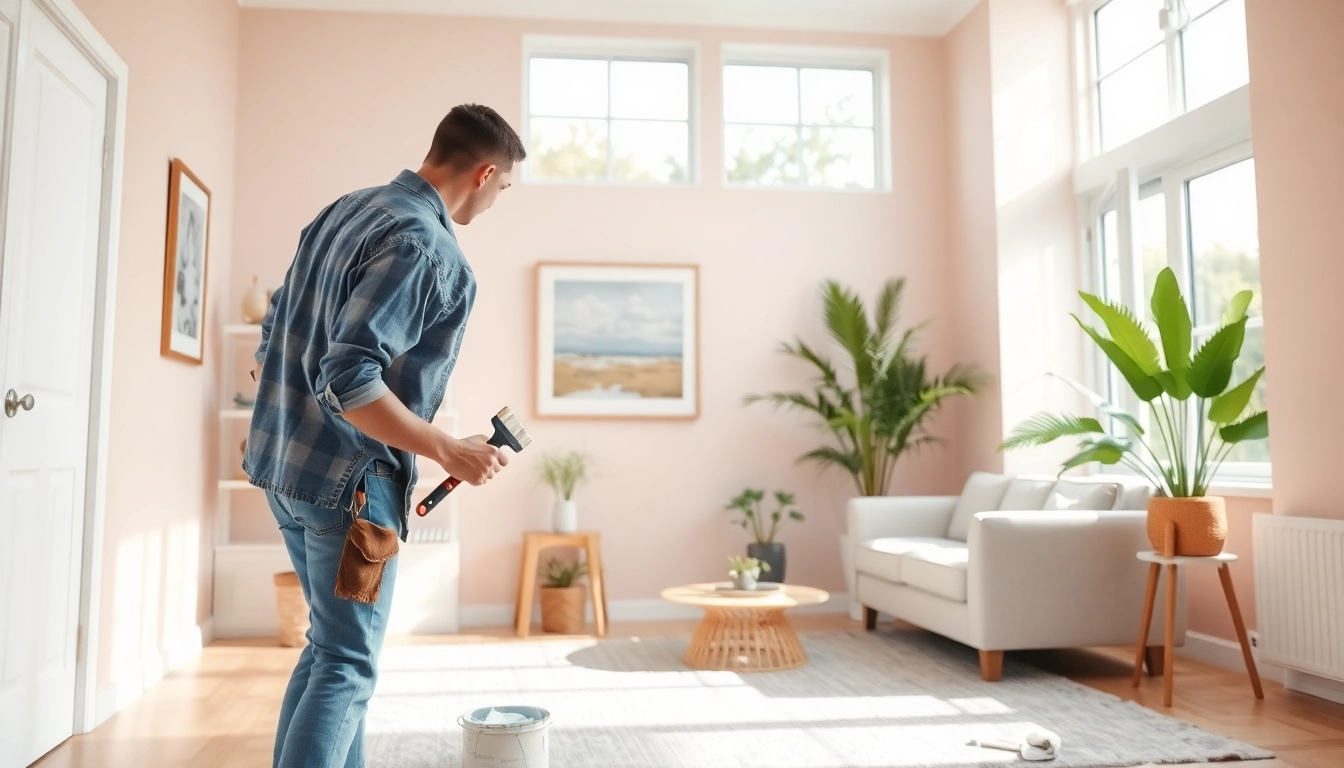
Step-by-Step Guide to Painting Your Walls
Executing a flawless paint job involves careful execution of each step:
- Prepare the area: Move furniture, cover surfaces, and lay down drop cloths.
- Cut in edges: Use a brush to paint edges around trims, corners, and ceilings.
- Roll on the paint: Using a roller, apply paint to the larger wall areas. For best results, use a ‘W’ or ‘M’ technique to ensure even coverage.
- Apply additional coats: Allow the first coat to dry completely before adding additional coats as needed.
- Final touches: Make any necessary touch-ups and remove painter’s tape while the paint is still slightly wet for clean lines.
Techniques for Achieving a Professional Finish
To achieve a professional finish, consider the following techniques:
- Feathering: Blend new paint with existing paint using a brush technique to avoid stark lines.
- Rolling technique: Overlap strokes slightly to ensure full coverage and minimize roller marks.
- Using a paint extender: This can improve flow and leveling, resulting in fewer brush or roller marks.
Common Mistakes to Avoid During Painting
Even seasoned painters can make mistakes. Avoid these common errors:
- Skipping the primer: Priming is crucial for achieving true color and even texture.
- Rushing the process: Be patient to allow each layer to dry fully for the best final appearance.
- Not using quality materials: Investing in quality paints and tools can significantly impact the final result.
Maintaining and Touching Up After Interior Painting
How to Care for Your Newly Painted Walls
Once your walls are painted, proper maintenance will help prolong their life and maintain appearance. Regular dusting, mild cleaning with soap and water, and avoiding harsh chemicals will help keep the paint intact. Address spots or stains immediately to prevent permanent damage. Adequate air circulation can also help minimize moisture, especially in rooms like bathrooms and kitchens.
Touch-Up Techniques and When to Use Them
Over time, it’s normal for painted surfaces to need touch-ups due to wear, impacts, or stains. For effective touch-ups:
- Use the same paint: Ensure you have the original paint on hand to maintain color consistency.
- Blend the edges: Feather the paint into the surrounding area using a brush for a seamless repair.
Signs That It’s Time for Another Paint Job
Knowing when to repaint is crucial for maintaining the beauty and health of your interiors. Look for signs such as:
- Peeling or cracking paint: Indicates the need for a new coat to protect surfaces.
- Fading or discoloration: Changes in color can make a space feel dated and require refreshing.
- Stains or wear: Frequent stains or marks from daily life can indicate it’s time for a touch-up or full repaint.